Dashboards
A Dashboard is a visual representation of data designed for quick analysis of the network traffic data and for informational awareness.
Dashboards consist of Widgets – objects with a graphical representation of specific data which can be added, edited, positioned, deleted or modified as you like. Sycope allows users to set up multiple Dashboards.
Dashboards can be combined into groups depending on the user's needs while a single Dashboard can belong to multiple groups.
Dashboards/Dashboard groups are created and edited in the menu (Dashboard>Management>Dashboard).
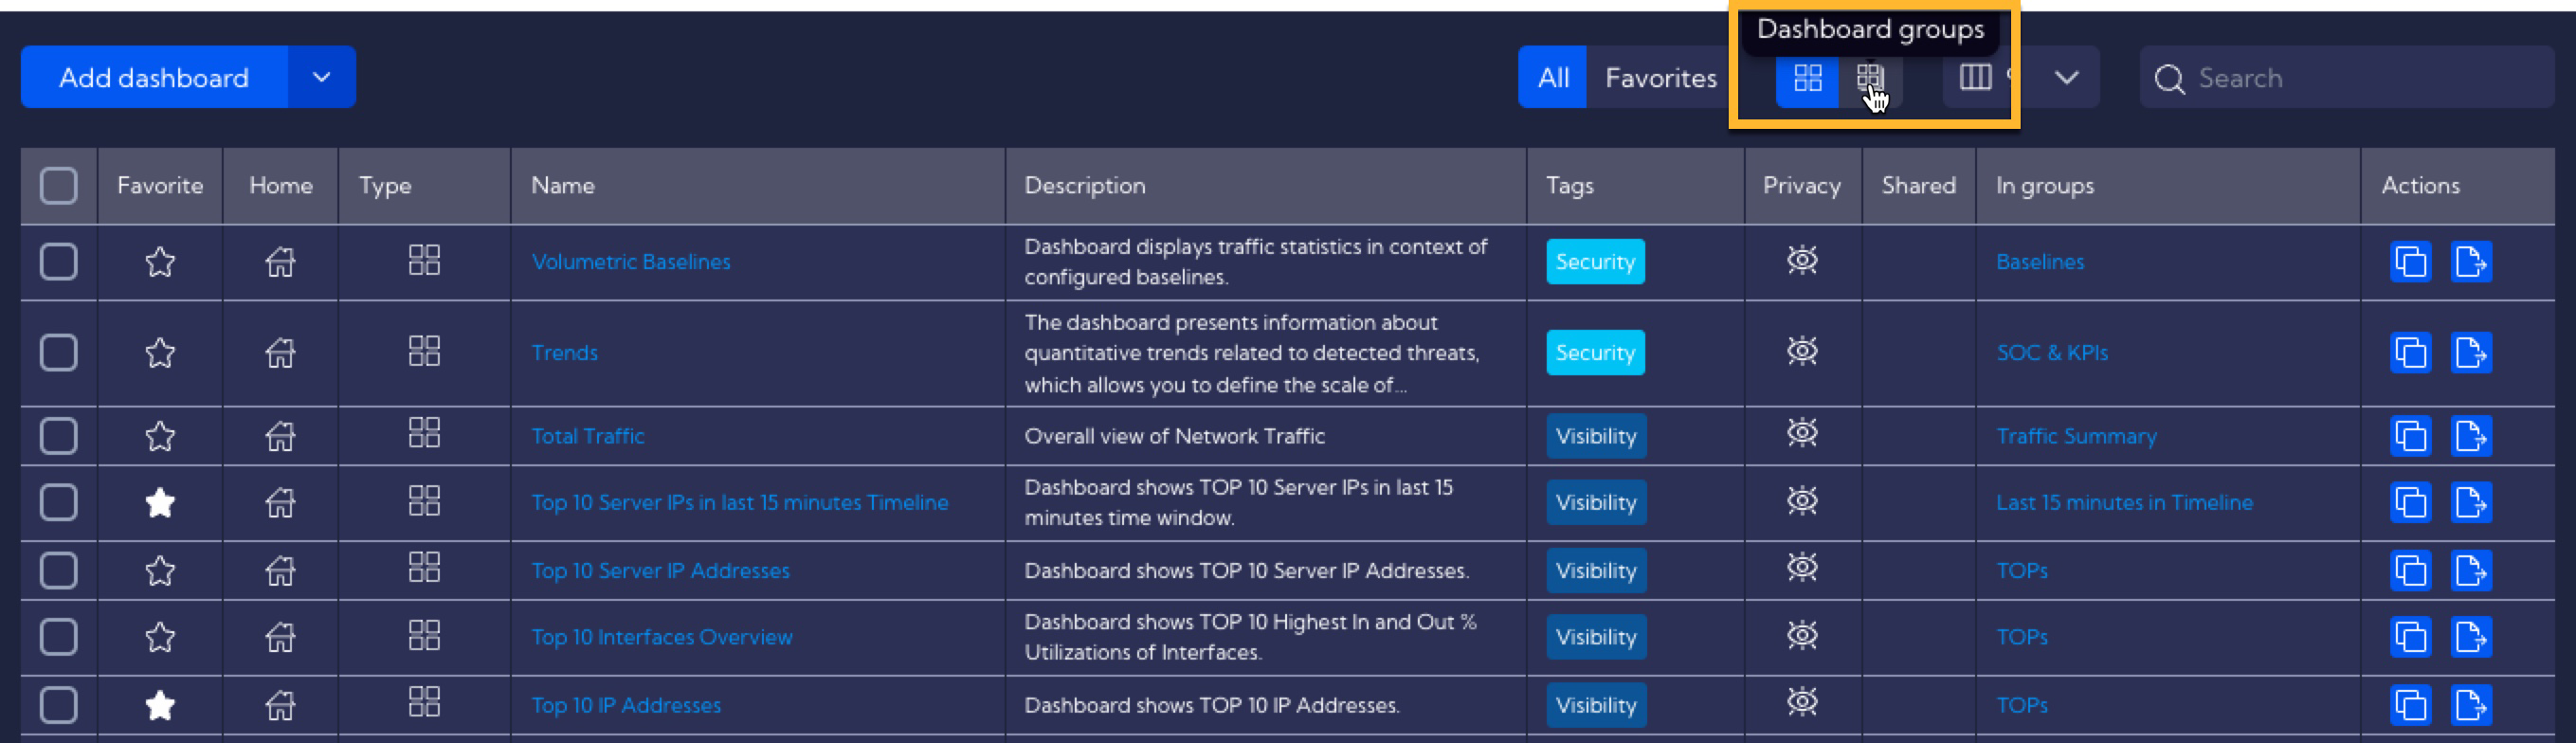
Use the Dashboard and Dashboard groups icons in the top menu to switch between table views (Dashboard view or Dashboard groups view).
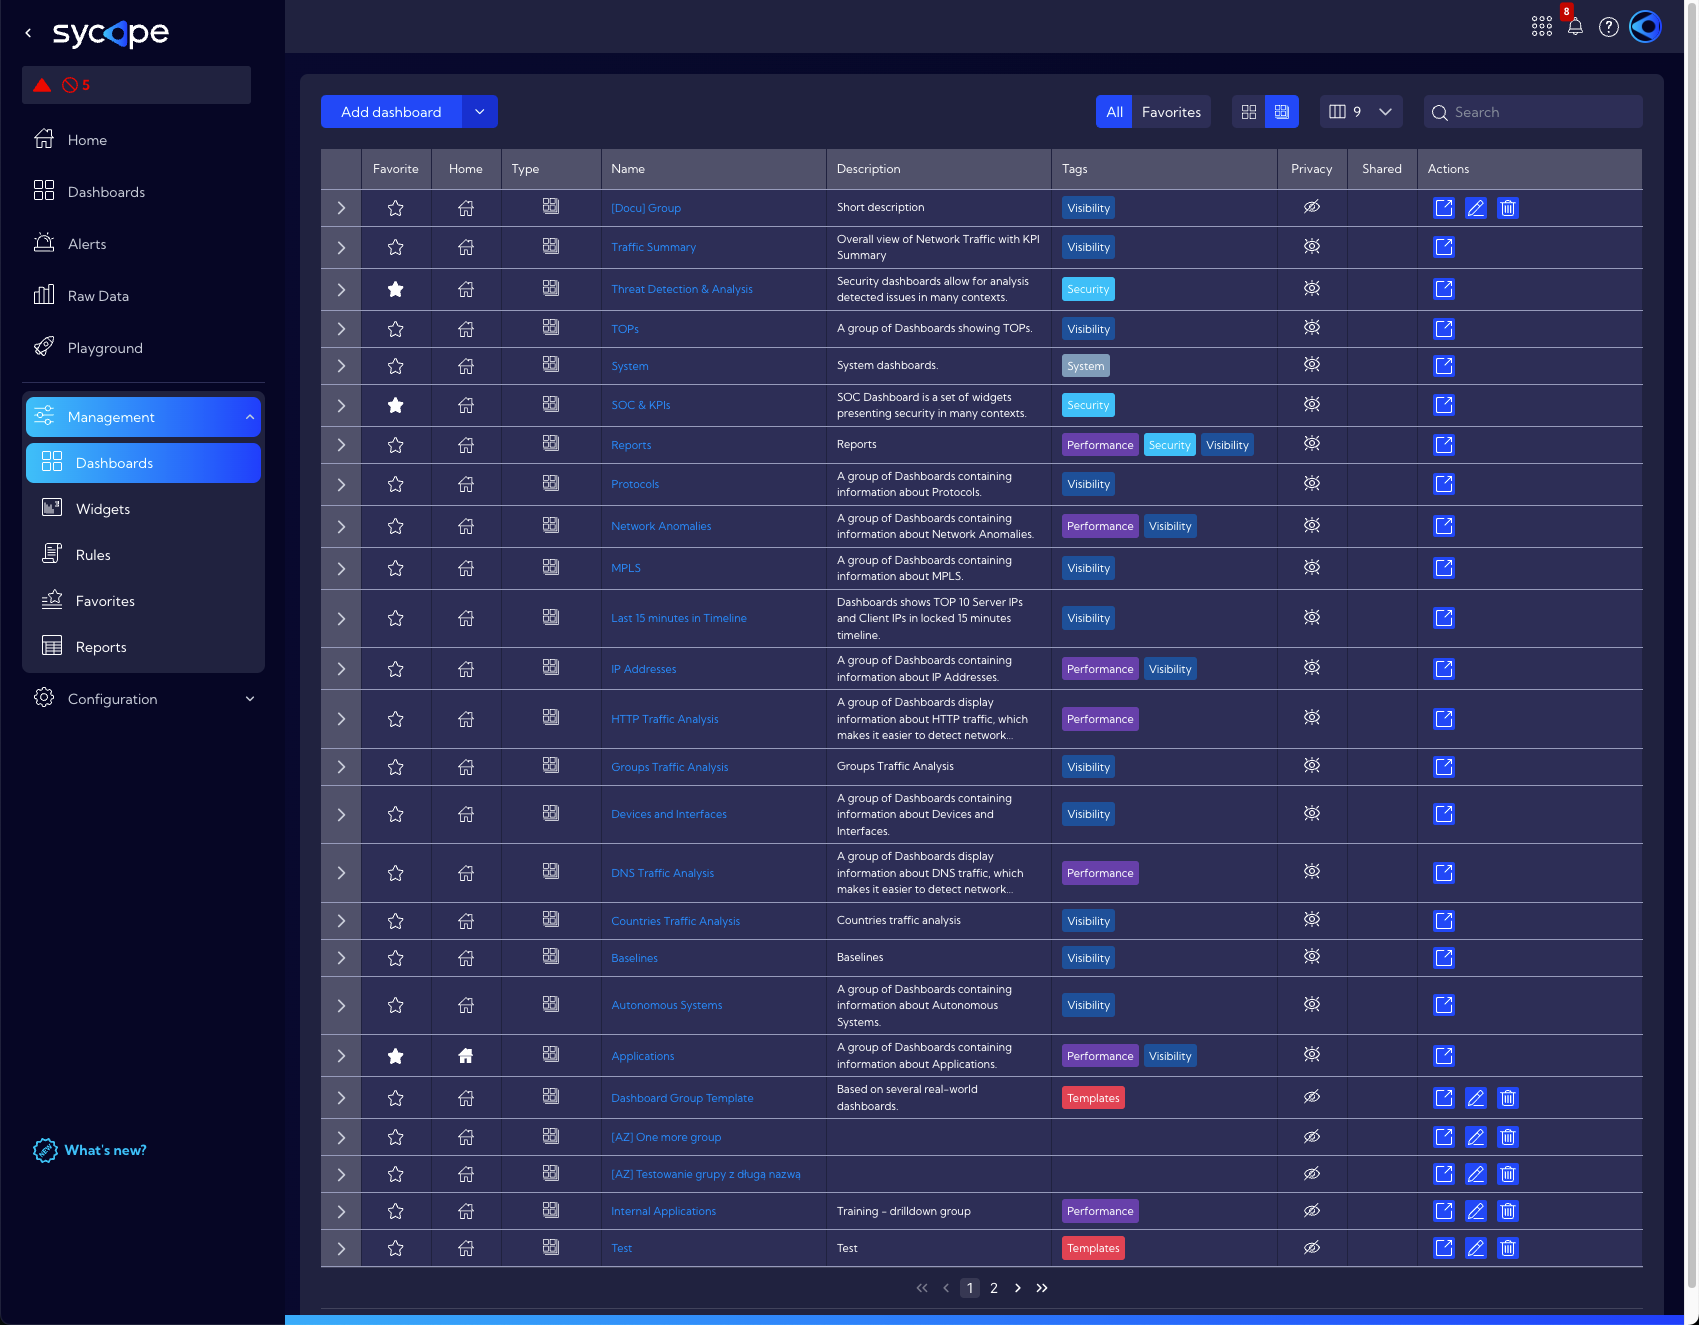
When you enter this menu, you will see a table with default and/or previously created user Dashboards.
The table contains the following columns:
- Select - the checkbox button - used for selecting for further editing
- Favorite - star icon - used for adding to favorites
- Home - home icon - used for adding to the home screen
- Name - unique Dashboard name
- Tags - assigned tags
- Description - short Dashboard description
- Privacy - privacy status icon
- Shared - the name of the user who shared the Dashboard
- Created By - the name of the user who created the Dashboard
- Creation Time - creation time
- Modified By - the name of the user who last modified the Dashboard
- Modification Time - last modification time
- In group - group/groups to which the Dashboard belongs
- Actions - actions that can be performed on the created Dashboard
- Duplicate - create an editable copy of the Dashboard
- Export - save the Dashboard to a file in JSON format
- Edit - edit the created Dashboard
- Delete - delete the selected Dashboard
Add/Edit Dashboard
To add a Dashboard, click on the Add Dashboard button and fill in the fields in the pop-up window.
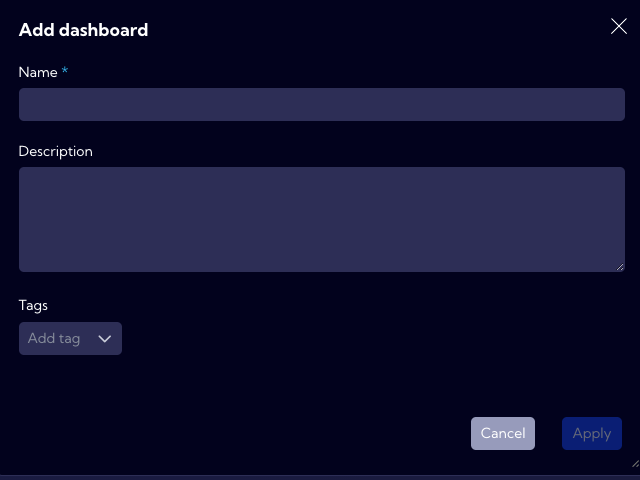
In the pop-up window there are the following fields to fill in:
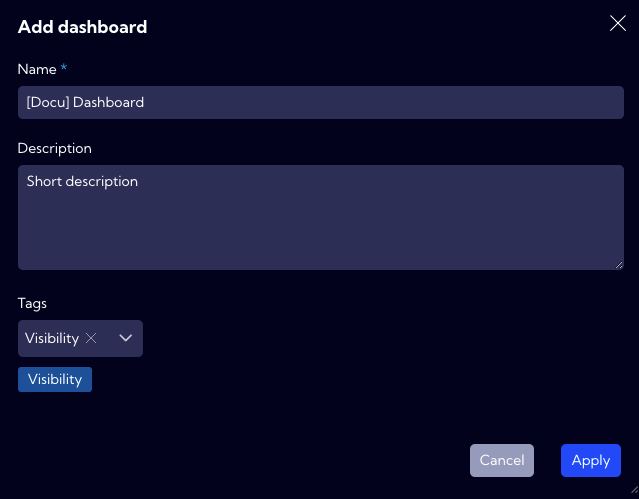
- Name - Dashboard name (mandatory)
- Description - short dashboard description
- Tags - you can add tags related to the Dashboard being created
After clicking Apply, a grid board on which you can place Widgets will appear.
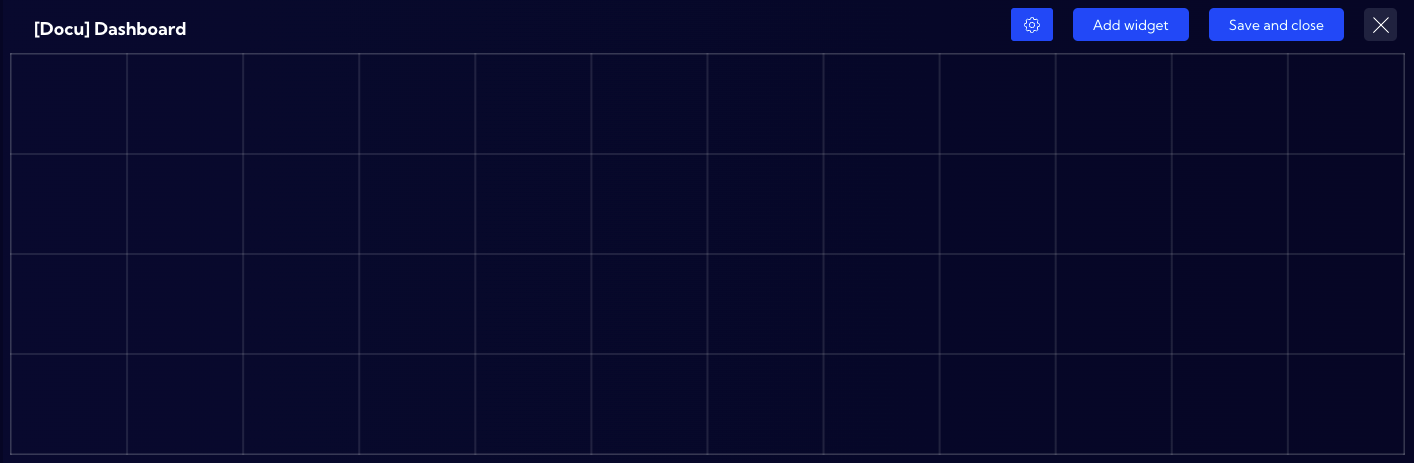
To configure the Dashboard use the top menu.

 Settings menu
The settings menu has four options to choose from:
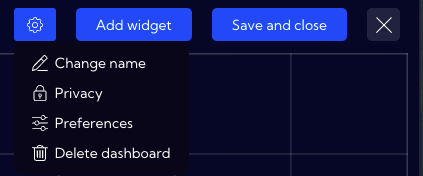
Change name - you can rename the Dashboard
Privacy - you can grant permissions for a Dashboard
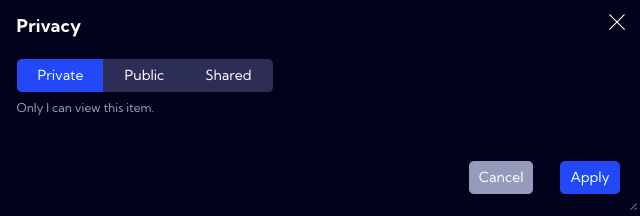
- Private - accessible to the owner
- Public - visible to all, but you can grant permission to:
- delete
- edit
Shared - accessible to one or more selected User roles. The available privileges are:
- delete
- edit
Preferences - you can change settings related to the layout of elements and appearance
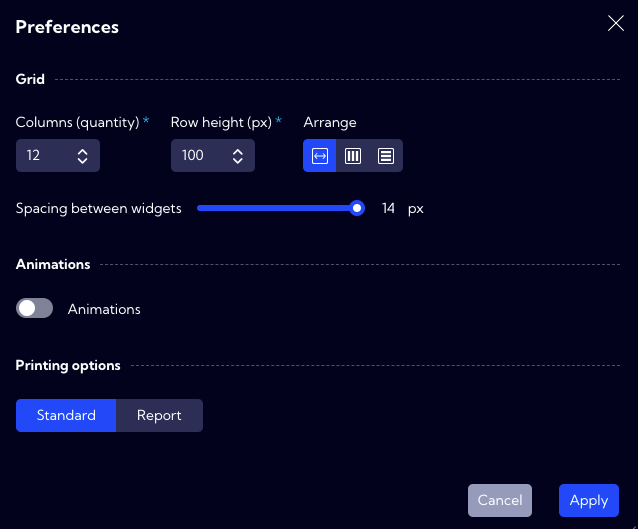
Grid section - used for configuring the grid on which the Widgets will be placed
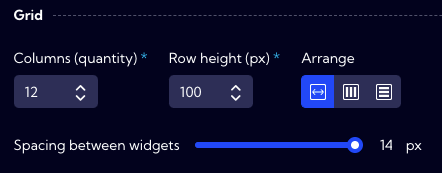
- Columns (quantity) - you can specify the grid number of columns
- Row height(px) - you can specify the height of grid rows
- Arrange - you can specify a page layout
- Auto/Vertical/Horizontal/
- Spacing between widgets - you can adjust the distance between Widgets placed on the Dashboard
Animations section
- Enable/Disable animations switch
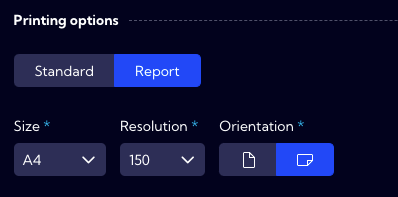
Printing options - you can configure the printing settings
Standard - view adapted to the monitor screen
Report - view adapted for printing
Delete Dashboard - you can delete Dashboard
![]() - you can add Widgets from the list of all or Favorites Widgets in the System
- you can add Widgets from the list of all or Favorites Widgets in the System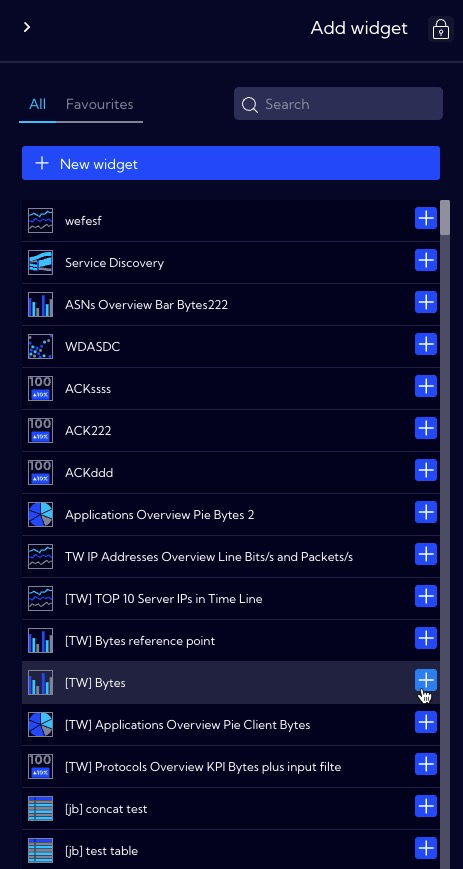
![]() - to complete a configuration and save a Dashboard.
- to complete a configuration and save a Dashboard.
A saved Dashboard is placed in the table with a list of dashboards, and it is launched by clicking on its name.